

Those who have seen Christopher Nolan's latest film Interstellar will remember TARS, the lovably quirky, unconventionally efficient block-of-steel robot that accompanies the human heroes on their quest to find habitable exoplanets.
For those who haven't seen the movie yet, TARS is one good reason why you should.

Plan A for this long weekend was to catch up on a few projects around the house, the blog included, but Plan A is for chumps, and in a surprise move I decided to goof off instead, and see if I could make a mini action figure of TARS out of LEGOs.
Once I had a version I was pretty happy with, I took it apart again and made up instructions for how to do it yourself at home. So, if you're a lucky kid and have a collection of the bricks available to you, feel free to follow the below steps to make a TARS of your very own.

For starters, the pieces. You'll need:
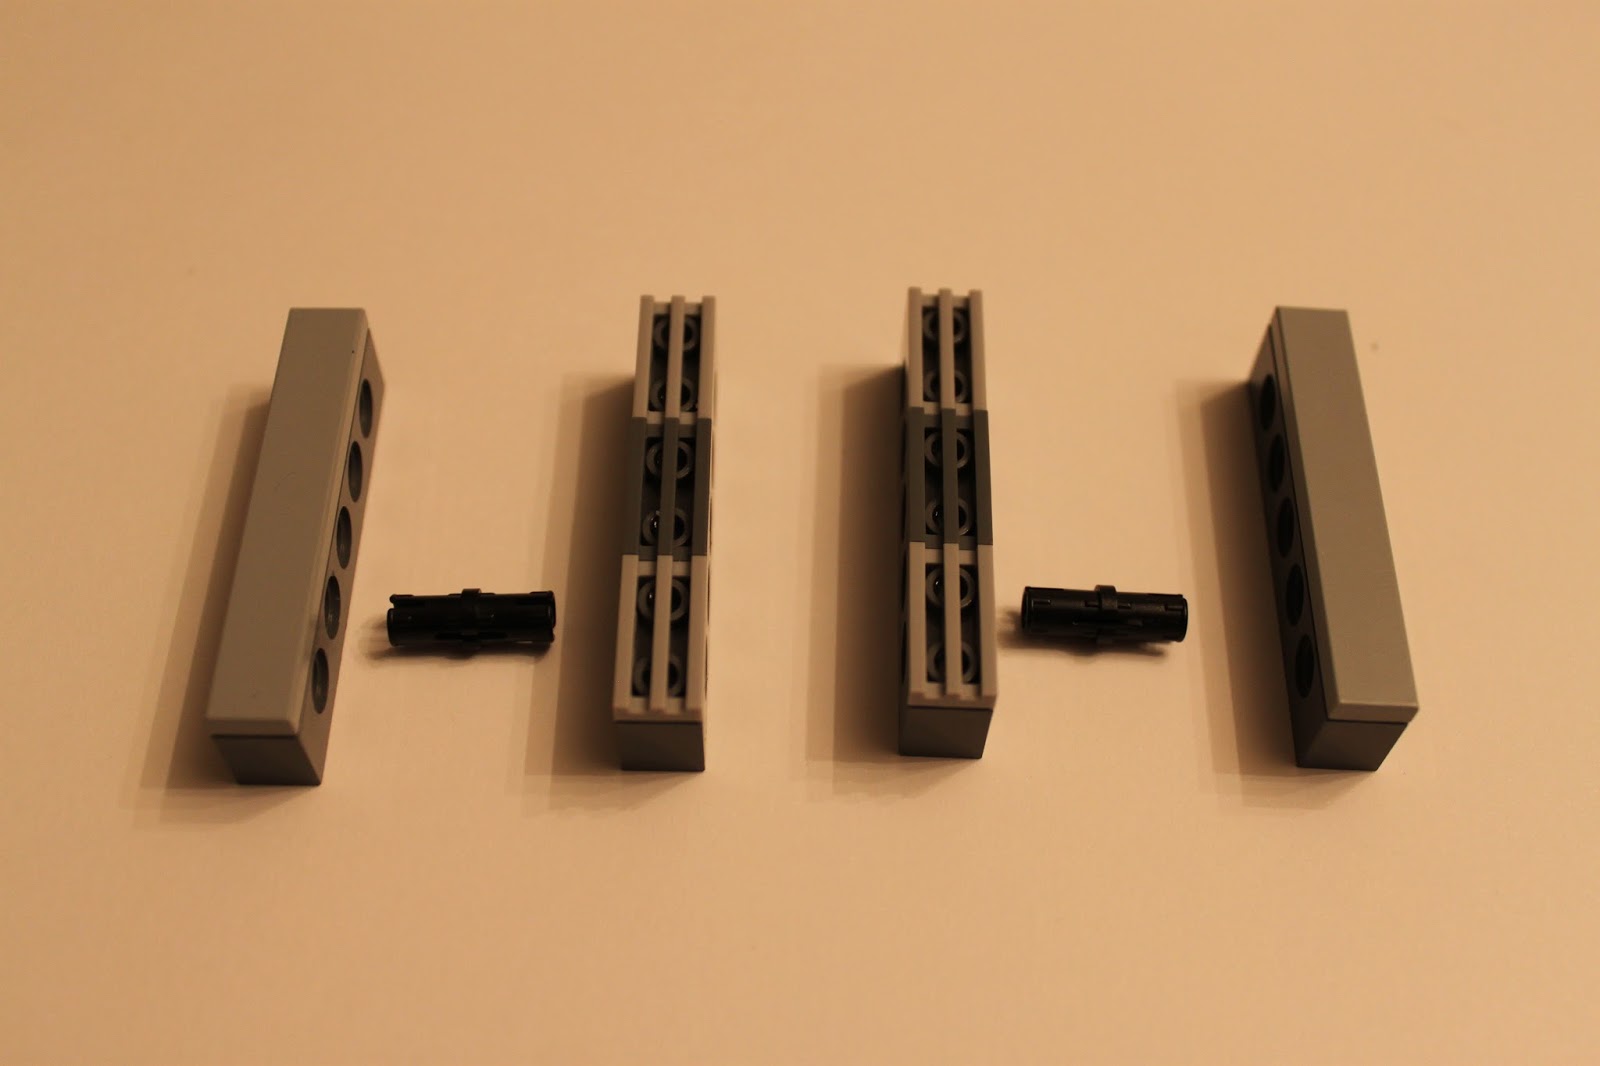
- four of those long 1x6 pieces with perpendicular technic-style holes bored through (I used dark grey but of course particular colors are optional)
- two 1x6 smooth-topped flat grey pieces
- four light grey 1x2 flat lined-top pieces
- two dark grey 1x2 flat lined-top pieces
- three of the black hole-connecting technic-style pegs
The only essential components here are those listed first and those listed last, the rest are all ornamental and can be swapped or substituted around as preference dictates.
For the record, my pieces came from a 4504 Millenium Falcon (now disassembled, that's part of the fun) and a 31008 Thunder Wings that I got for my birthday year before last.
In doing a little last-second terminology research for this post, I find that you can actually purchase individual bricks from lego.com; I haven't done the numbers, but I imagine getting a set of the bricks I used would run something like five bucks.
Assembly is as follows:


Attach the line-topped flat pieces to two of the 1x6 holed pieces,

thusly. Then, connect the two flat-topped long pieces to the two other holed pieces,


like so.
Now comes the essential part, connect the two sets of two using two of the black connector pegs.


For this build I put them in the second from the edge instead of right at the edge, but one of the charms of this design is that the pegs can be moved however the user likes for maximum flexibility, as with the walking/folding/rolling/galloping/snarking TARS in the movie.


Once together, they can fold up and down however you like.


As might be supposed, the next step is to join the two halves together the same way


Again here I went from second-in from the edge, opposite direction from the outer pegs (if that makes sense). If the outside pegs went second from the top, I put the inner peg second from the bottom and vice versa.


Join them together and you're ready to go!

It's alive!

And fabulous!

Once built, I found out my mini-TARS is wonderfully useful, even for things besides striking poses:

he likes to help with cooking,

and with cleaning,

he has a lot of fun drawing,

he can even help with personal hygiene!

I'm looking forward to many fun adventures with my new charmingly foldable-rollable miniature plastic friend, but for now we're out of time, so we have to wave good-night.
No comments:
Post a Comment