
I love every part of projects like this, from the first ideas to the moment when the last details come into place. What's great is that it gives the writing-thinking part of my brain a break while I'm on the project, and usually by the time I'm finished, writing seems like a much easier and straightforward way to bring new ideas to life.
About a year ago, I entered ThinkGeek's costume project for their little stuffed mascot, Timmy the Monkey. The idea is to do mini-scale cosplay that they can take with them to comic book conventions, most notably the San Diego Comic Con; you submit ideas to them and volunteer your time, and you get to see the finished product up on their website.
I submitted a couple ideas, some were from their list and others were not. They surprised me when they replied by saying they'd elected two: the Shredder from Teenage Mutant Ninja Turtles, and Doc Brown with DeLorean.
It was at this point that I realized that I wasn't sure how much of a bluff that DeLorean thing had been, in order to peak their interest and consider my suggestions. But now that they'd called me on it, I was excited to give it a try.
I started from my known strengths: corrugated cardboard and hot glue. I built a center component that would house Timmy, the seats, and the dashboard first, to get a sense of the scale of the project.

I was working without any real precise measurements, just sort of eyeballing and blocking things out to save time. I pieced together the back section


(behold the glory that is ad hoc iPhone photography) and the front section next,


An idea of the windshield and bracing for the gull-wing doors followed

(also difficult to photograph in an interesting way), and once I was sure that the little guy would fit inside

I started piecing everything together.

When the front and back portions were added,

it started to look kind of like a car.

The doors were tricky, as I hadn't really planned for them in the shape of the front and middle jointing, and the front edge of their shape was supposed to rest snugly in place there in the finished design.

I spent about half as long as I'd spent on everything else up to that point, that is to say around five hours, getting the doors attached and the windows cut out (by then I'd had an idea, and was discarding the original plan of blank cardboard windows colored blue and white).


Once the window panels were cut out and partially reinforced, and the doors were resting in place, I took a brake from the frame and thought about the wheels. Wheels that sat happily in the wheel wells would be cool, but wheels that would fold down like the flying car from the second Back to the Future film (my personal favorite) would be better.
So I worked out a simple system of a wheel that would be locked in place when pushed in,

but could then pull out,
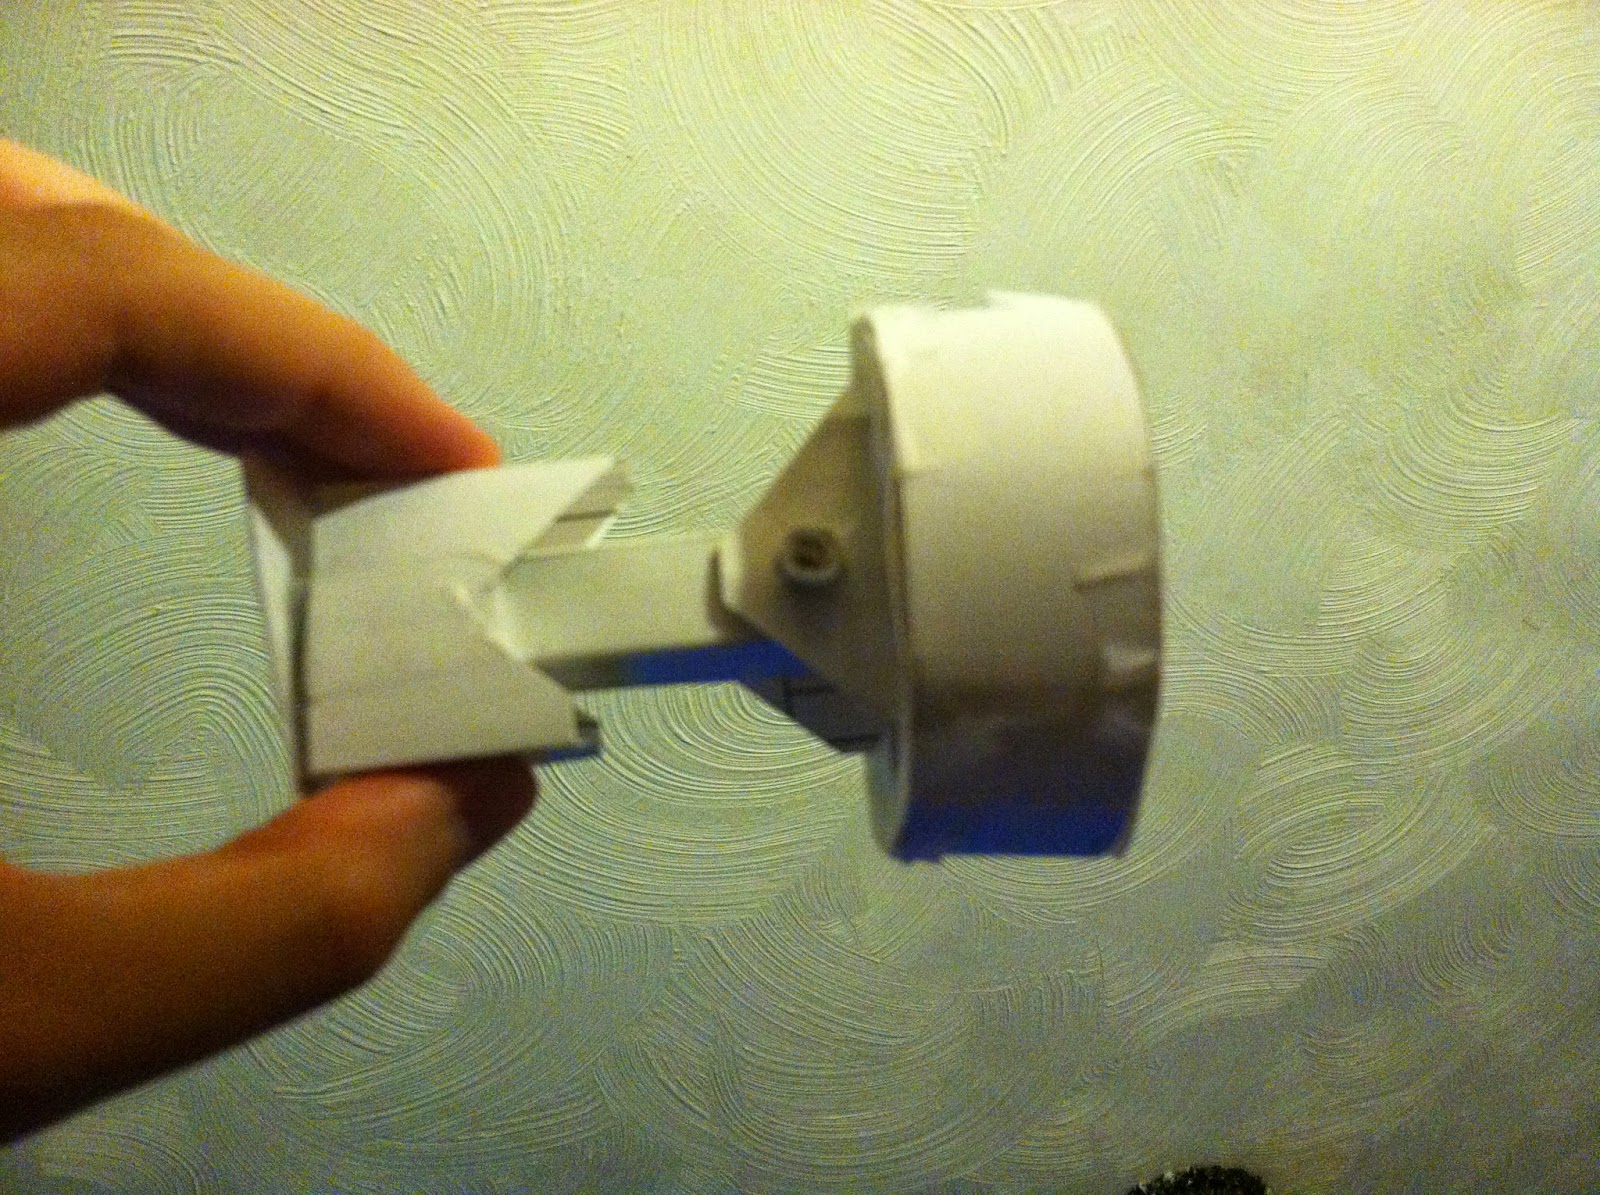

and tilt down,

like the hover units in the movie. Pictured is the demo work-up I made from card stock; the real ones were done in corrugated cardboard and eventually (it took a surprising amount of work to make four of them) spray-painted black.
Next I spent a session skinning the frame in silver-colored poster board and gluing it down. At the same time I reinforced the windows and doors again, this time with paper clips and a thin dowel. I also cut and glued in thin pieces of plastic, the kind you'd use on an overhead projector, for the windows.

I left the rear pockets blank for time being, as I hadn't given any thought yet to the engine gadgets that would have to go in there. I started on the engine itself with a blocked-out cone of corrugated, and hoped the rest would be easy to put together as I was starting to run low on time.

I put felt and colored paper down in the interior of the cabin, and glued a little printed readout of the time circuits panel with the dates of Comic Con included.

I also put together a little flux capacitor with a plastic-window front and printed back, and the little labels on the window as in the movie for authenticity's sake.

Did I mention yet that I have an extremely patient and loving wife, who is willing to wait while I spend a ridiculous amount of time on these things?
If my memory serves, by this stage I was actively haggling for time with the ThinkGeek people due to overruns in every direction. I had asked for and received special permission for my wife to bring the thing by and drop it off at their office, rather than shipping it, which bought a couple of days. Somewhere in there I had to take time to make the actual costumes for the monkey (I suddenly remembered it was a costume project), but I don't have super clear memories of that.
In the last two nights, I finished glued in the wheels and finished all the superficial touches, and the car was basically done.

I lined the cubbies in the back section with black paper. The engine fins were black card stock, mister fusion was office paper rolled up and coned, and the smaller pieces on the side were construction paper.

I'd got hold of a few mirror-like silver pieces of cardboard for Doc Brown's shades (we don't need -- roads), and I used these to signify the parts around the front and top that light up in the movie when the car is about to actually travel in time. The headlights were just office paper again.

I used little strong magnets on the doors to both hold them in place when closed and open when up. It was a little tricky getting them to stay sometimes, but the little "click" sounds on closing were very satisfying.

I used some more of the mirrored paper to make the future version of the license plate; it's not pictured, as I thought of it after these were taken, but I also made a small "TG" to stick on the grill in place of the "DMC" you'd usually see there.

That was pretty much it! Here's the picture ThinkGeek tweeted when they got hold of the thing,

and here it is with some dry ice at the start of their live streaming costume unboxing party.

It was super fun, though clearly an over-ambitious idea from the start. In all it took probably between 30 and 40 hours work to finish, which was more than I'd anticipated, but I learned enough moving forward that it wouldn't take as long to do a second time.
What's funny are all the ideas I'd had and ran out of time before I could implement them. The wheels were supposed to rotate as well as fold down. There was a spindle of wires I'd picked up to truss around the outside of the frame like the cables of the time circuits are draped and stapled down in the movie. Originally the wheels were supposed to fold down not one at a time but all at once, through a mechanism that would push or pull them when Mr. Fusion was pulled up or pushed down (that's part of why there's a large dividing wall between the passenger and driver sides of the cabin). And that's to say nothing of the ideas for the lights...
The key thing I learned from the project was to know one's limits. If you think you've got a lot of ideas, start right away on getting them down and getting them out of you. Things will go wrong, and be tricky, and take longer than you expected.
Even more time-consuming, and at the same time even more delightful, once you have your hands on the material you'll start getting little surprising ideas left and right, that would never have occurred to you when you're just planning things out at first on paper or in your mind's eye.
That said, don't let being conservative hold you back. Never be afraid to be overambitious, but just always plan ahead, and make sure you have enough time to honor the start of your project honor, by not getting distracted by endless tweaking, in order to see through as many of your complete ideas as you can, the best you can.
Things may never seem perfectly done: I never seem to have time for everything I want to develop, execute, and tweak before time's up, but it's almost always more important to take a guess and learn something than to abandon an idea because it seems too crazy to work.
Finally, look around in the world, sign up for stuff! I had no reason to make this thing before ThinkGeek posted their project idea, and I had no monetary reason for doing so at any time. It was just for my own satisfaction, to see if I could do it and how well I could do. Was it worth it? Absolutely, I'd do it all again in a heartbeat.
In fact, ThinkGeek has posted that they're looking for submissions for this year, you can find the project page on their blog here, and I believe there's still just enough time to get something in if you work fast.
I'm already working up something for this year, though it may not be as grand-scale. I'm pretty excited to see how it turns out. So if the new project winds up being worth posting about, there may be more of this to come!
No comments:
Post a Comment